Yes, you can be holiday-decor ready for free! Or almost free, it will cost you a few glue sticks and some thread, floral wire, or fishing line.
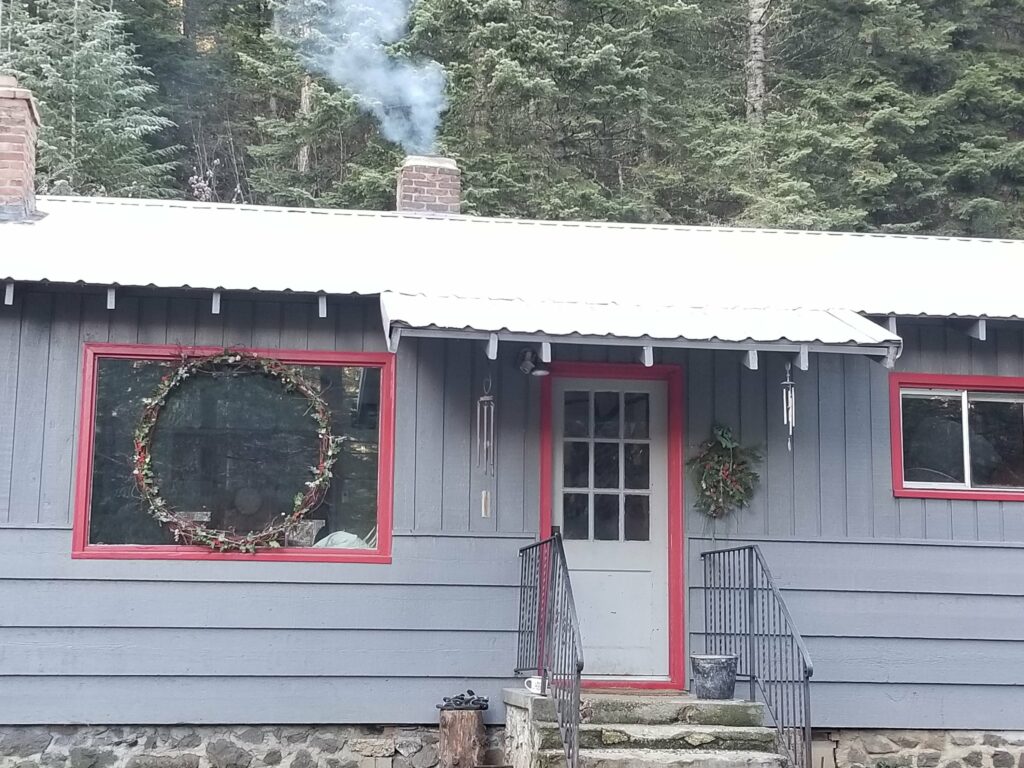
There is nothing so vociferous as a new convert. You know this is true and if you don’t, just go talk with someone who just started:
Yoga, eating paleo, eating vegetarian, stopped smoking/vaping, joined a fitness bootcamp, found Jesus, renounced religion, became a parent/grandparent, or, in my case, adopted a minimalist lifestyle.
Yes, I am a recent convert to minimalism. This is in part because 95% of my stuff is 3000 miles away from where I currently live which helps the learning curve A LOT. This conversion is also in part due to living actually IN nature. My previous home was in the heart of a very large metropolitan area, an area known for worshipping MORE and NEW. Shopping was a recreational activity and fashion was held in high esteem. It was and is part of that culture to consume everything and save very little. But here in my rural home, I walk among the costs of that consumption. I see entire mountainsides denuded of trees, experience the cost of trucking items to the store, and most heart-wrenchingly, I see the pollution from various manufacture plants roiling across the canyons and prairies. I do not protest these practices but I can reduce the necessity of creating more. I can make do with less.
Minimalism, however, does not have to mean leading an ascetic life. It is part of the enjoyment of living for me to have pretty things to delight my eyes and warm my spirit. As such, with the holidays just around the corner, I choose to brighten my home with small touches. The winter nights are quite long up here, with daylight lasting about 9 hours right now, and the sun so low in the sky that my yard does not see any sunlight on the semi-rare cloudless days. I am not alone in this need to decorate as humans have been decorating during the winter for many thousands of years.
There are a couple of ways to get natural decor items. Easiest is to grow your own. An evergreen tree, a holly bush, and a few flower bushes that dry nicely will go a long way. If you have a national forest nearby you can get a permit to collect items. These permits may be free if you follow specific guidelines so check with your local forest office or online. I am lucky to have a few acres of backyard forest in which to collect.
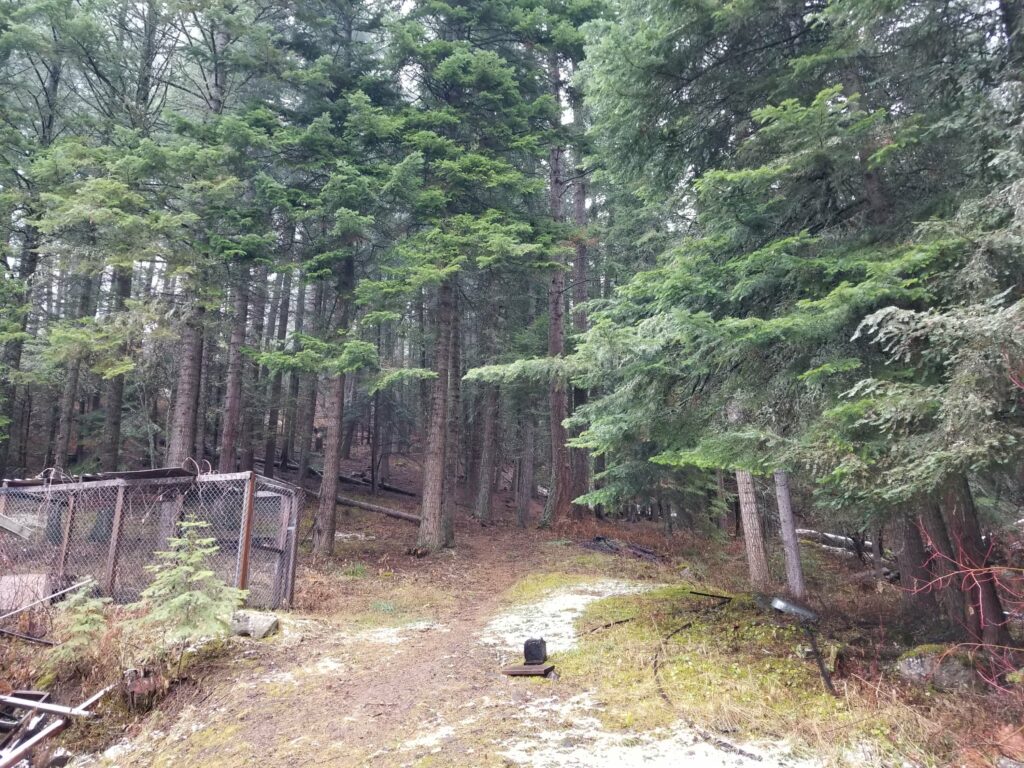
Next you need to expand your idea of what constitutes decoration. Down south I used lots of dried and fake magnolia leaves, dried and fake fruits, and lots of shiny ribbon. Here I have changed to a natural look since bronzed and glittered pomegranates and magnolia blossoms do not exist on the mountainside. It is also good for your brain to have to come up with creative solutions, much better than soduku.
Below is a simple tutorial on creating a holiday swag and a wreath to enhance your decor and bring a bit of nature’s beauty into your home. You can personalize these basic instructions to fit your decor by making small changes to the items you incorporate into your designs.
For the Swag
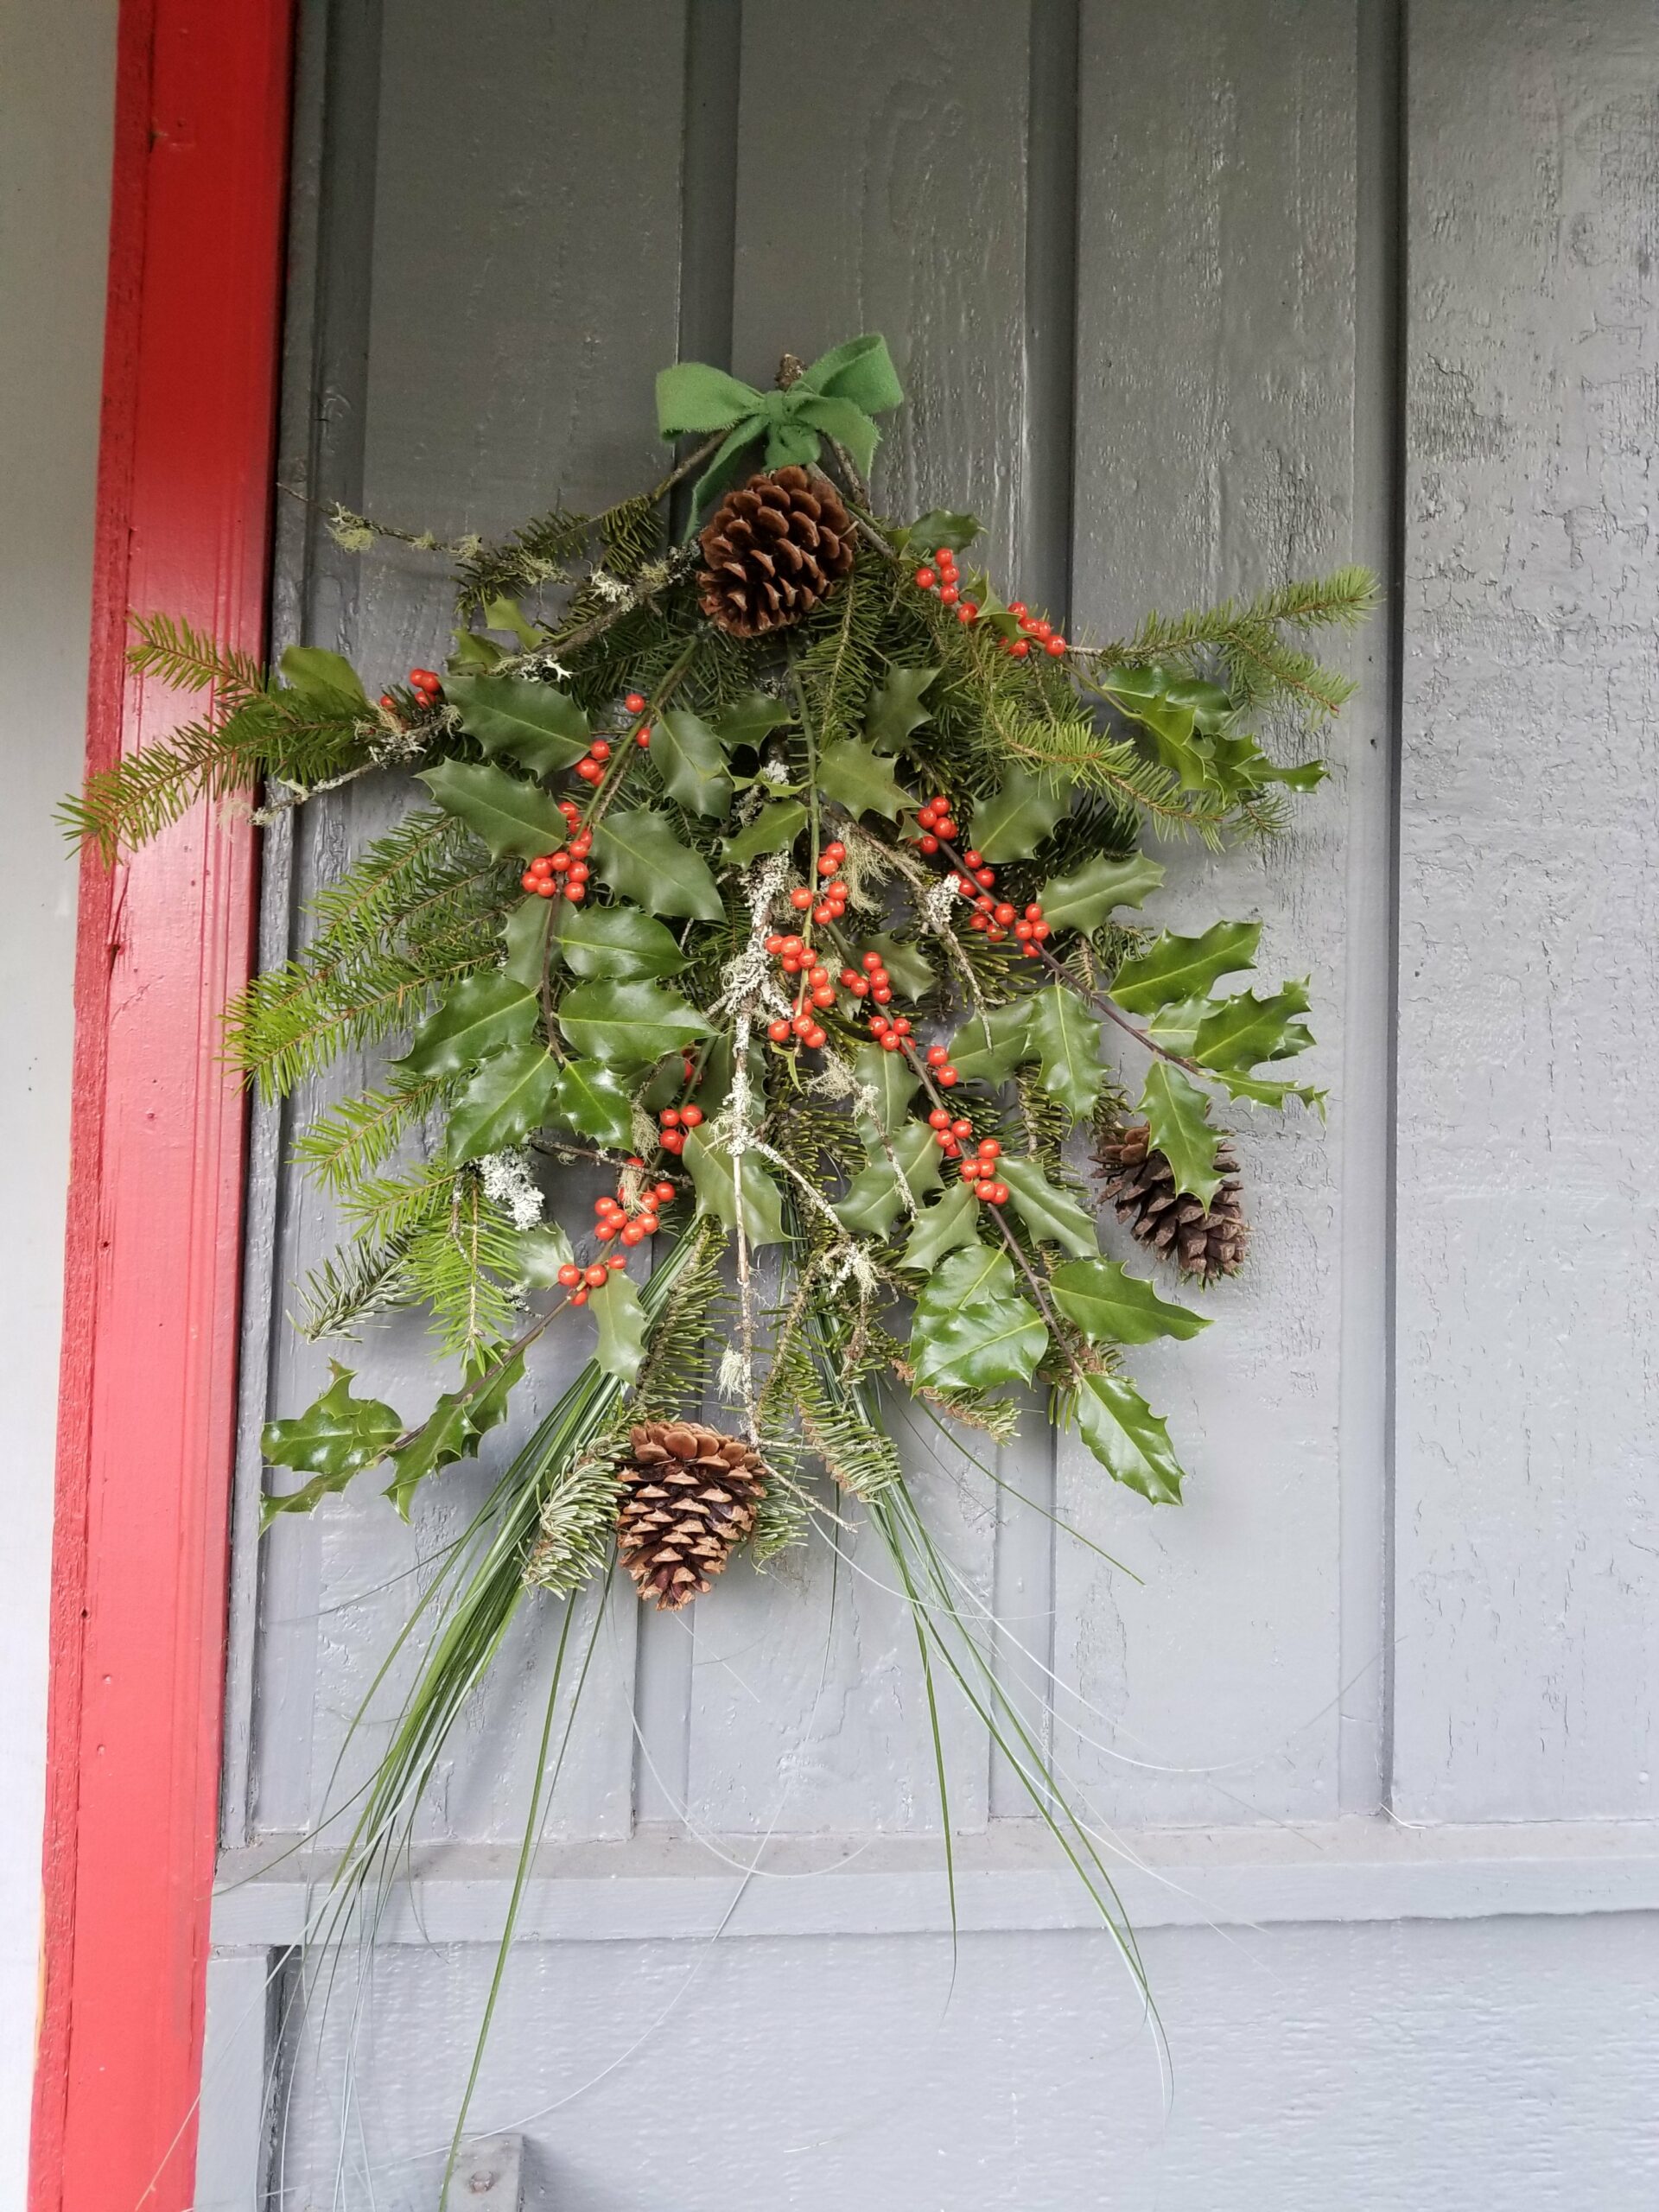
After a lovely and healthy walk in the woods or in your garden, lay out your materials and heat up your glue gun. Here I have a couple of different evergreen branches, some pinecones, some holly, beargrass, some dead branches that have lovely white lichen that resembles snow, and some dried white flowers. You may also wish to check with friends and neighbors for cuttings from their yards. Who knows, you may be doing them a favor by thinning out an overgrown bush! Certainly our side yard bushes were happy to have me thin some of the tangle going on here! I got super-lucky and was gifted some lovely holly. Find and use what is available in your area. Tip: a padded envelope makes a nice cushion for kneeling on a hard floor.
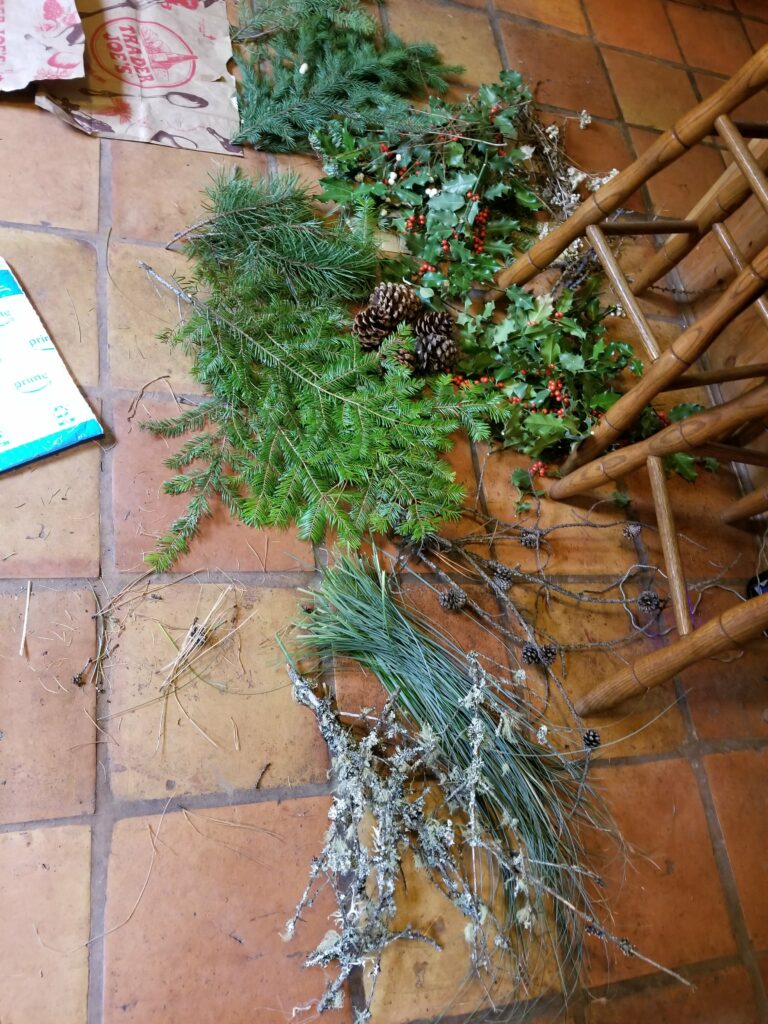
Layout your materials.
You can do a trial run of layer items to get a feel for what to place where but don’t get too exacting. Things will probably change as you go along.
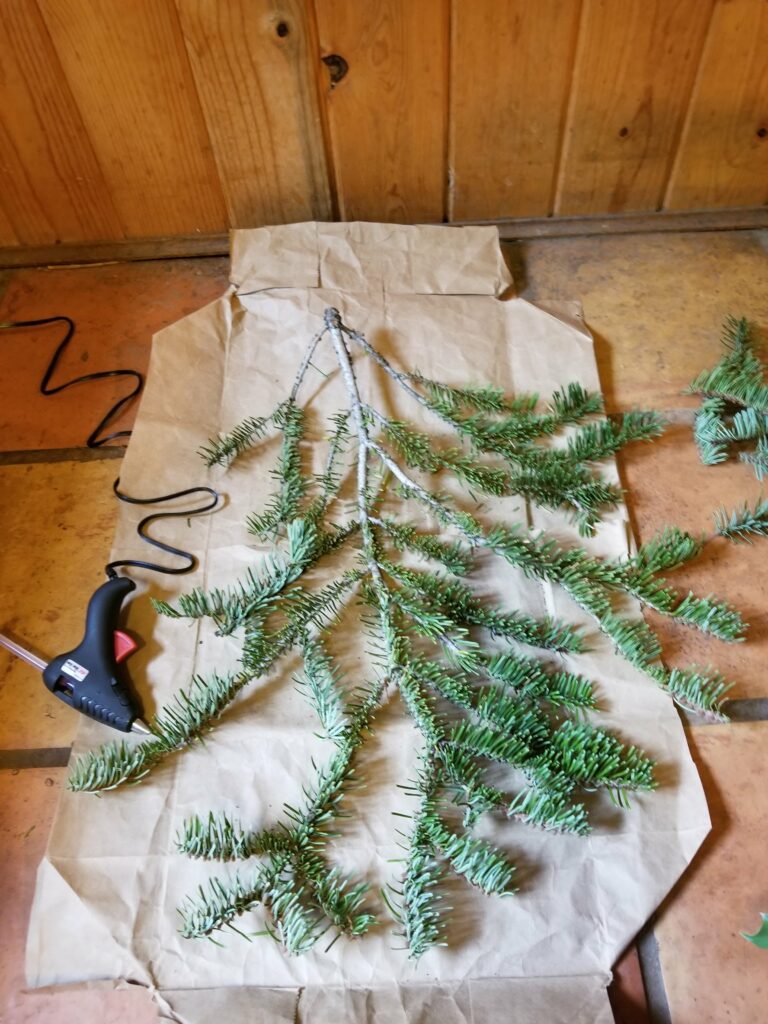
One evergreen for a base 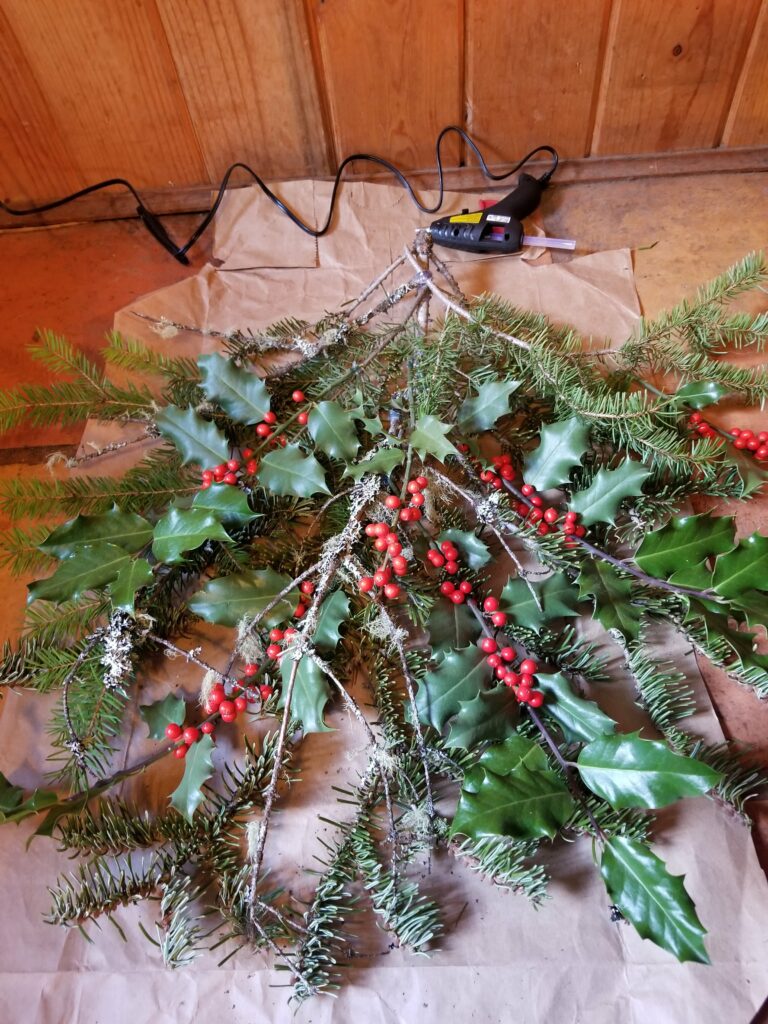
A preliminary layout before gluing
I used an evergreen bough as a base and placed some holly and some lichen branches along the bough to get a rough idea of placement. A few snips to trim the holly and branches helped them fit without being too perfect. These garden nippers are an absolute necessity! You may also wish to use some gloves if working with prickly things. I finally gave up working with the gloves and just accepted the occasional “Owie!” that is inevitable in this kind of project. If you think you are going to get through the entire holiday season without having to deal with a few pricks, well… think again.
Start gluing! Begin gluing the bottom layer first. If an item doesn’t seem to stay glued to the foundation, tie it down using the thread/fishing line/ wire. If using thread or fishing line, place a dab of glue over the thread to secure.
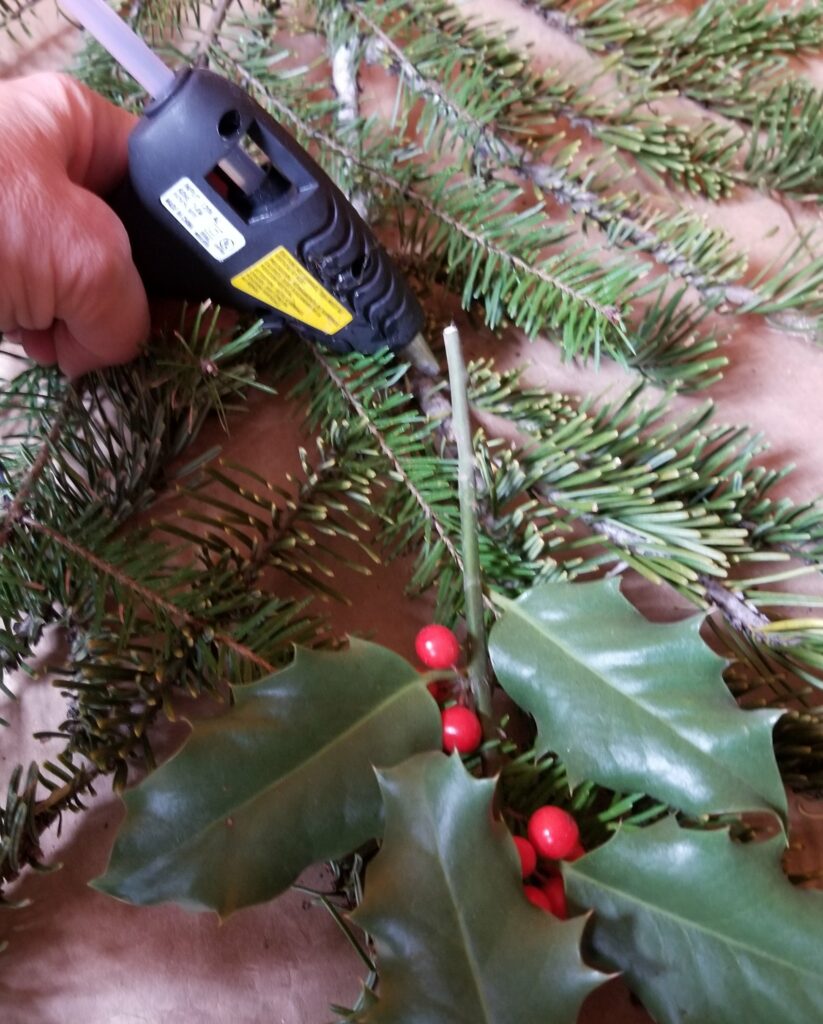
Hot glue makes it easy 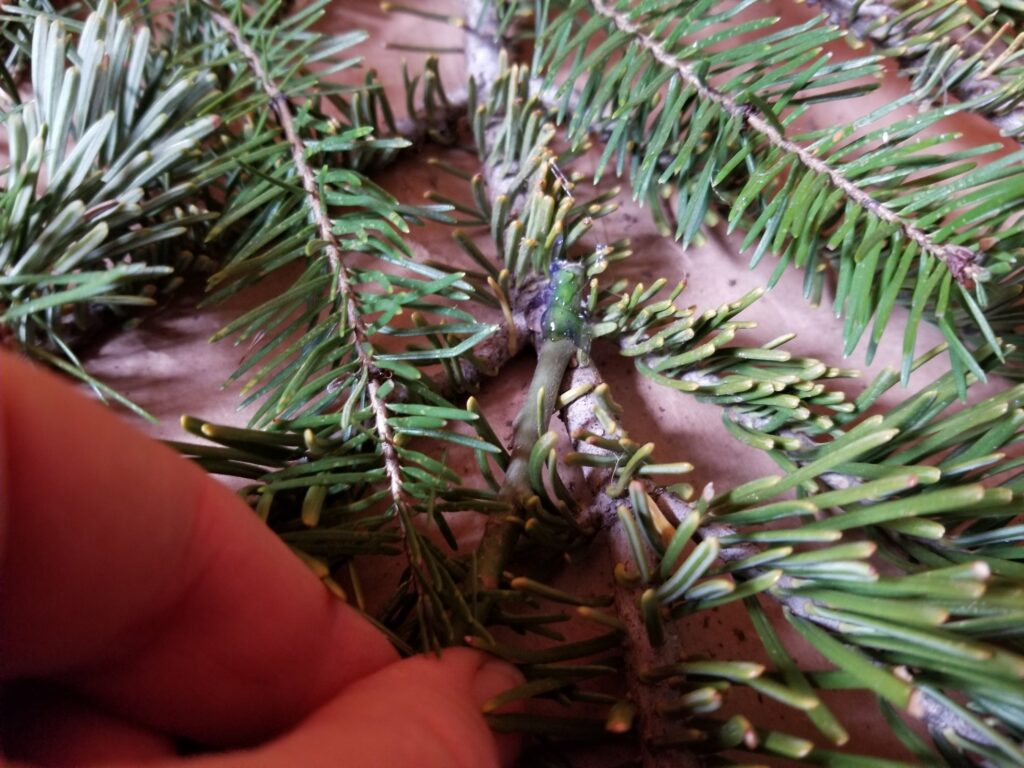
Hold the branch until the glue sets 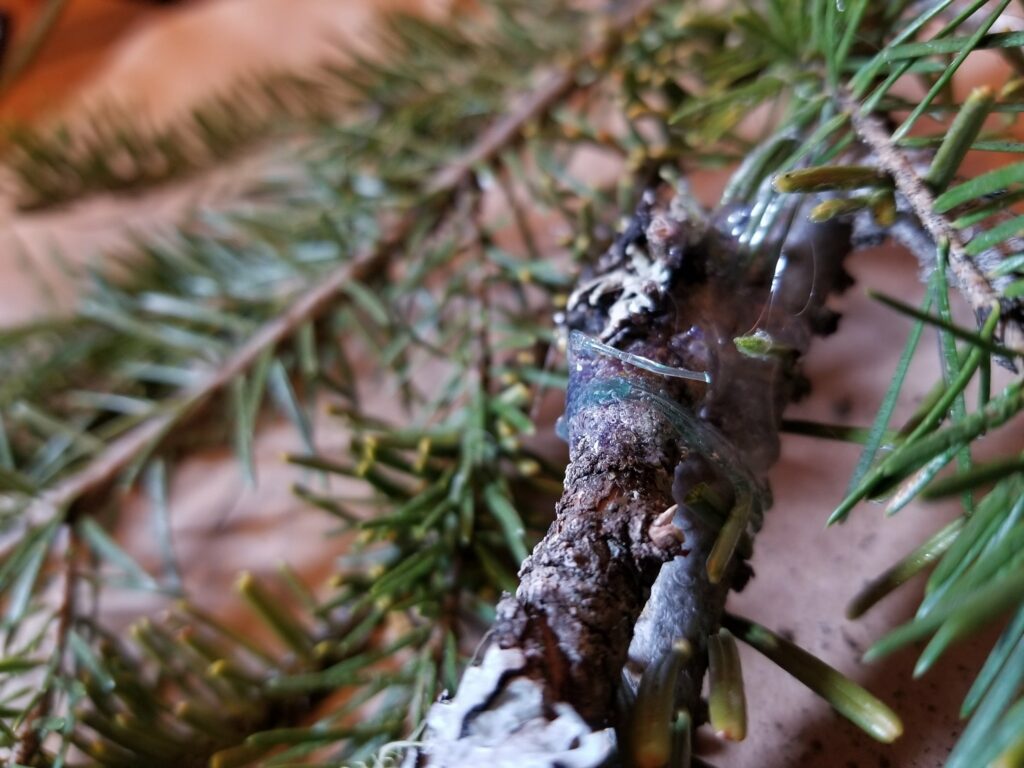
Use fishing line or wire to tie on larger branches. Here I glued over the fishing line to secure it
You may need to scrape off a bit of bark before gluing sticks. Just use the backside of your nippers or a fingernail to clean off the area that will be glued.
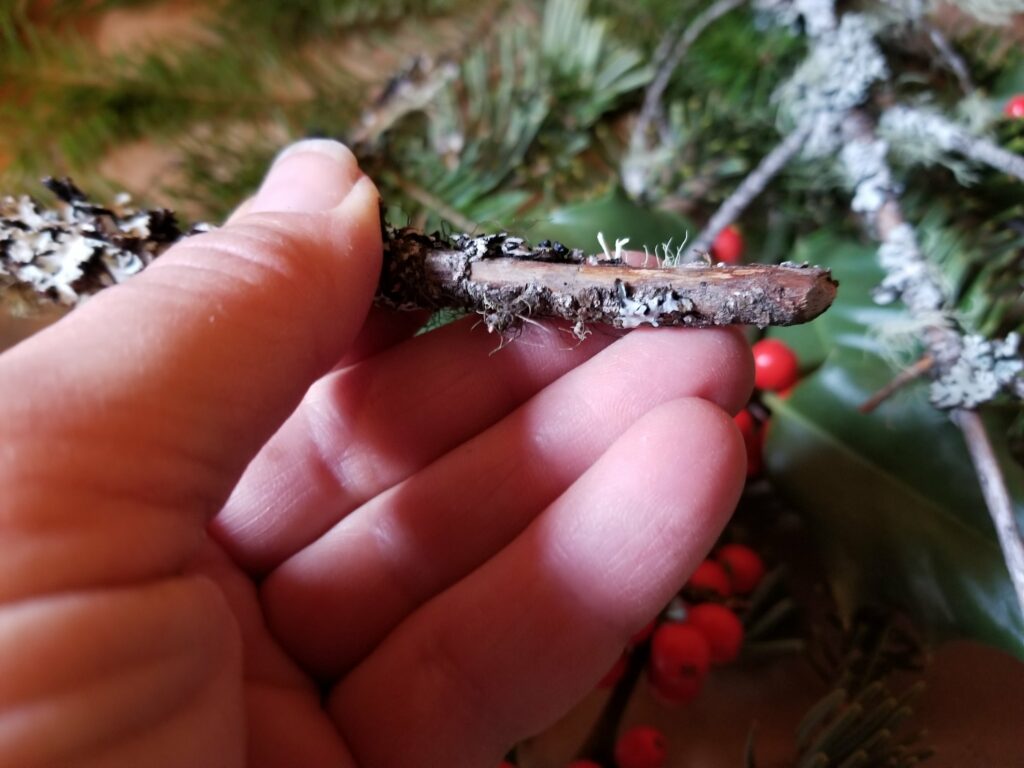
Remove the loose bark before adhering with glue
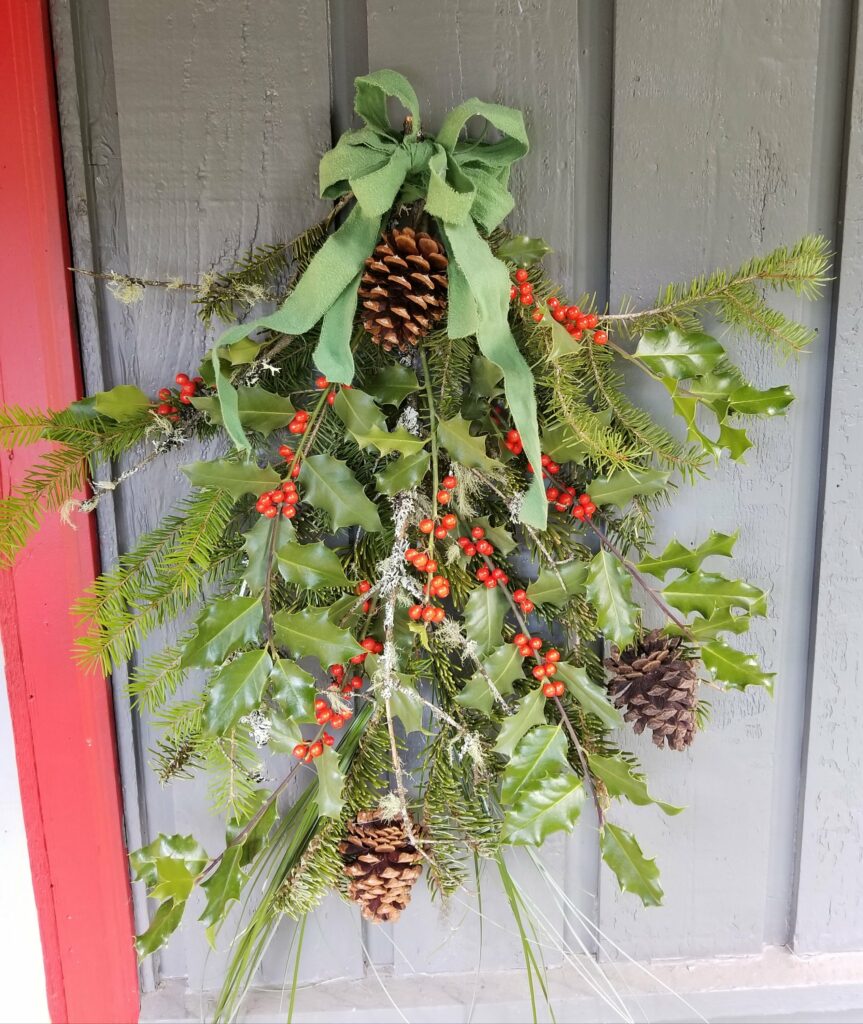
Keep building the layers up. Adding pine cones worked best for me when I tied a thread around the base of the cone and then attached that thread to the swag using a good helping of hot glue. To attach the bear grass “tails” I tied a bunch of grass together with thread and then glued that to the back of the swag.
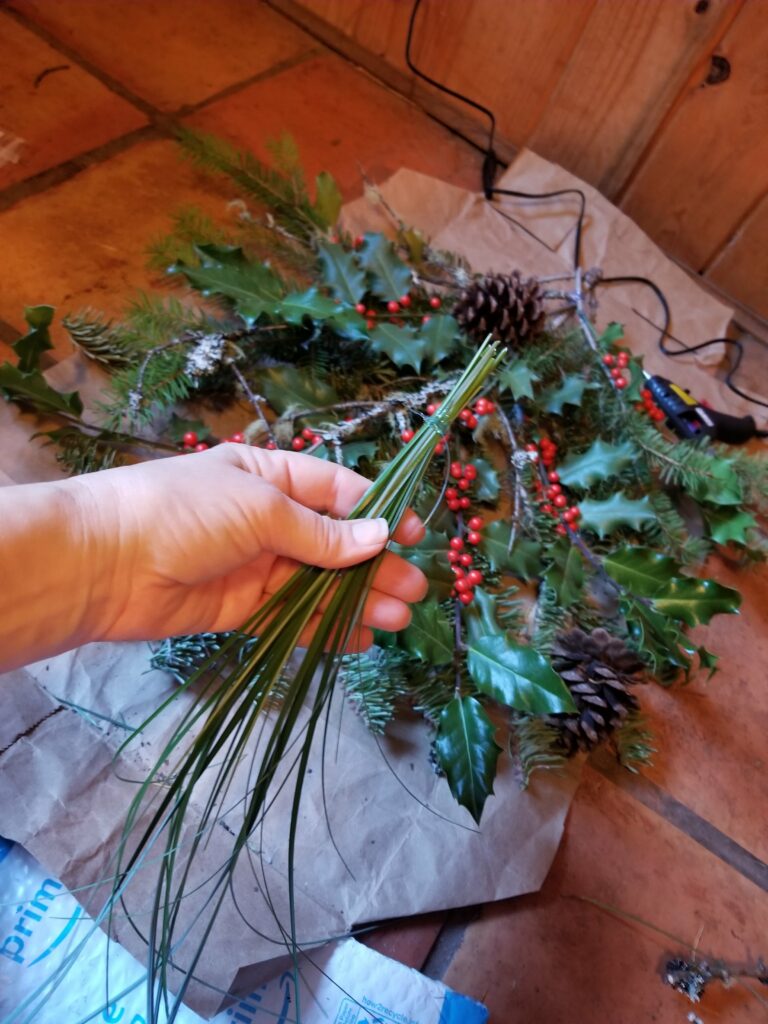
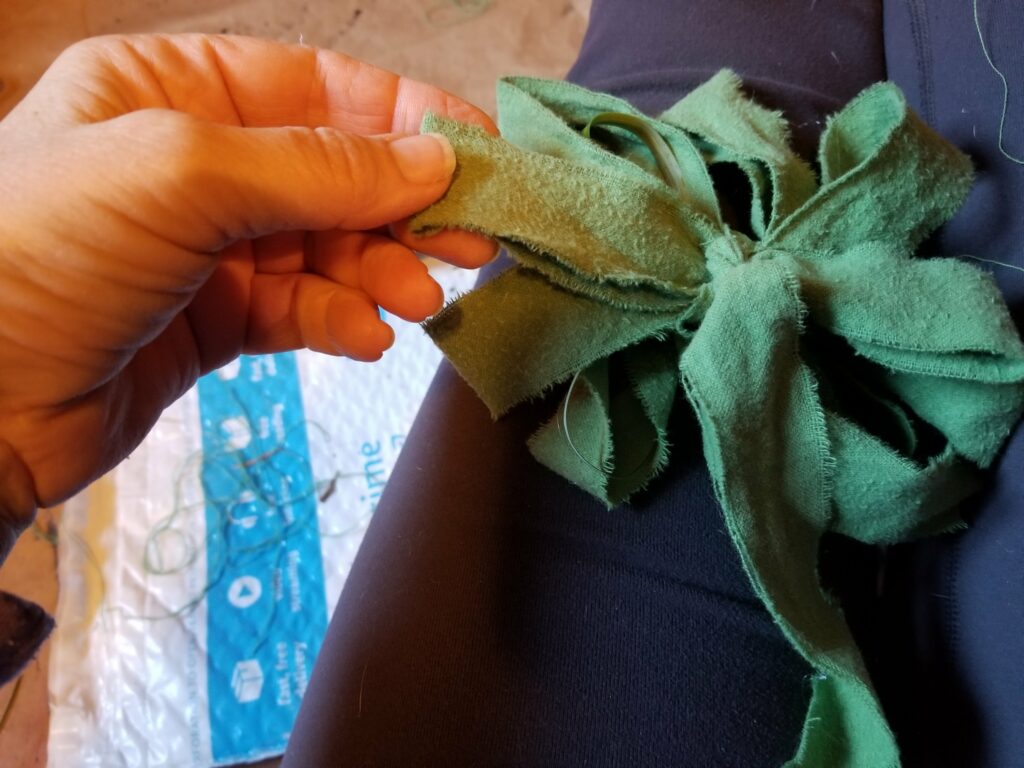
For the bow To turn rags into ribbons, tear the rag into strips and tie as if making a bow. You can go very simple by tying the ribbon on the swag like in this photo.
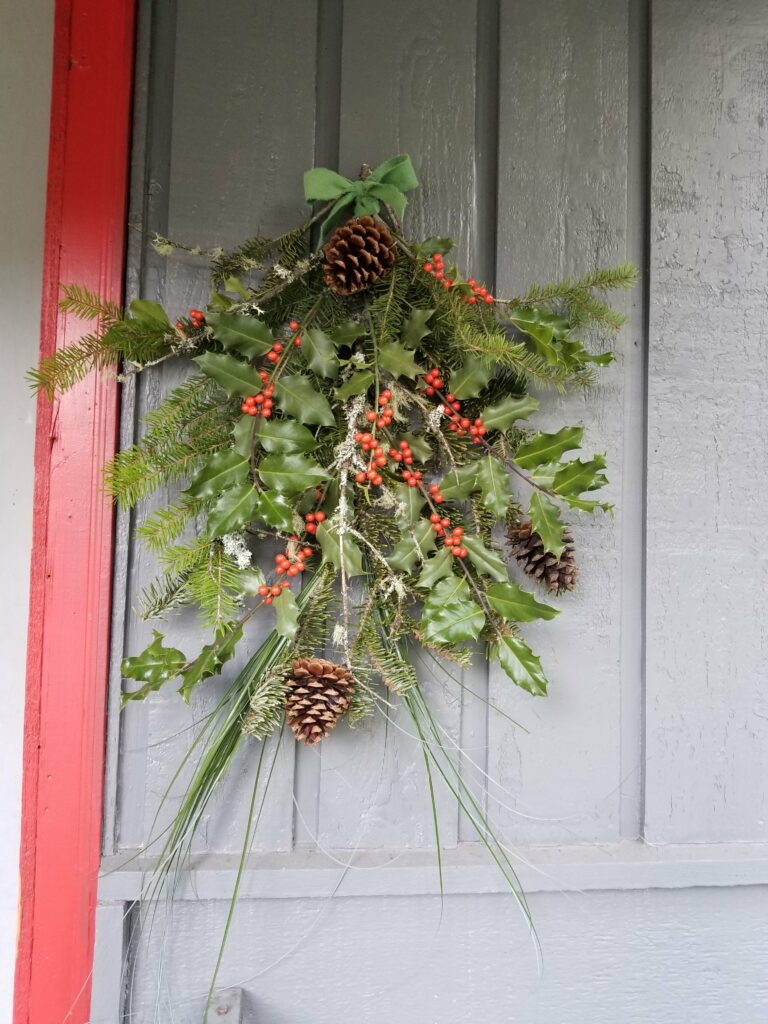
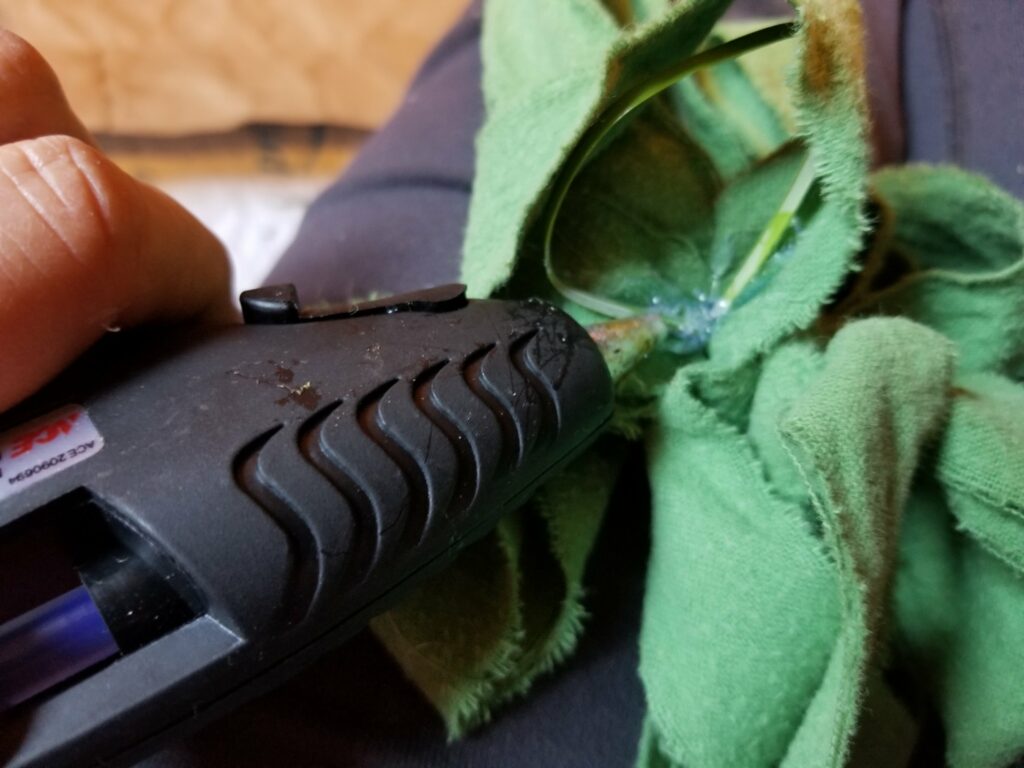
But why stop there? I like big bows and I cannot lie… Usually I would have used a wired ribbon to make a bow but since I do not have any on hand, I had to figure something else out. Here I glued bear grass inside each loop of the bow to give the loop some heft.
The Wreath- Everyone’s Favorite
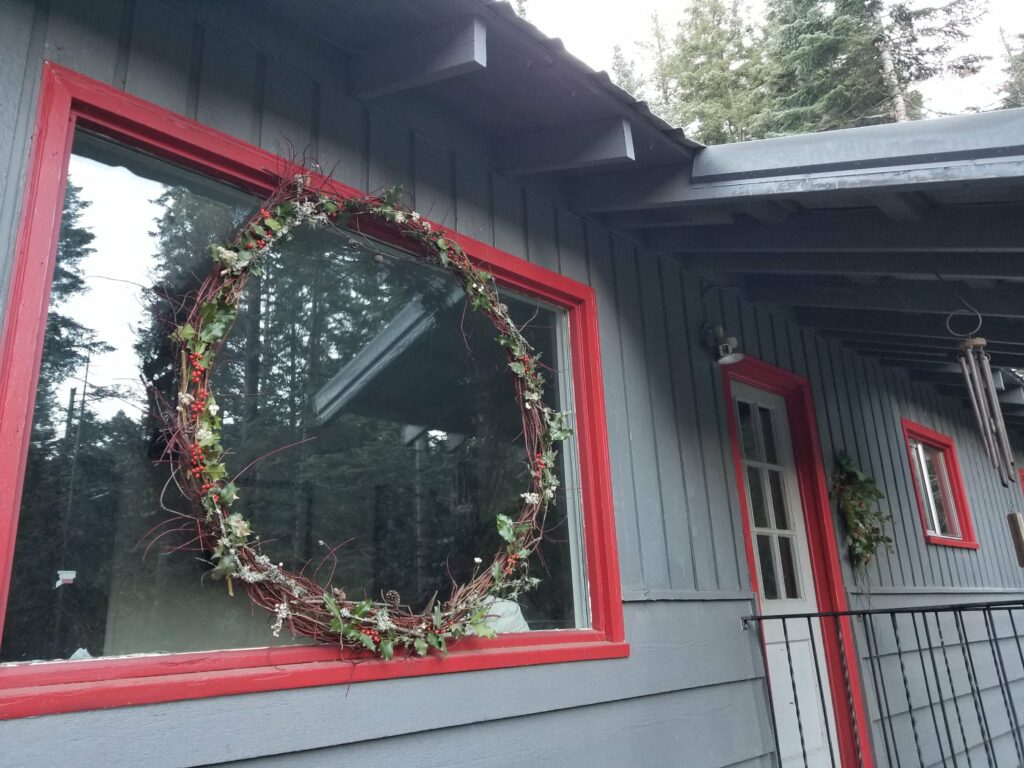
Everyone loves a wreath no matter what time of year. For this winter holiday wreath you can use some branches thinned from a bush or small tree. I prefer new growth branches as they are fine and easy to bend. The size of your wreath will also dictate the size of branches. A small dinner-plate sized wreath will necessitate finer branches whereas a large picture window size wreath like this one allows for branches that are as big around as a pencil.
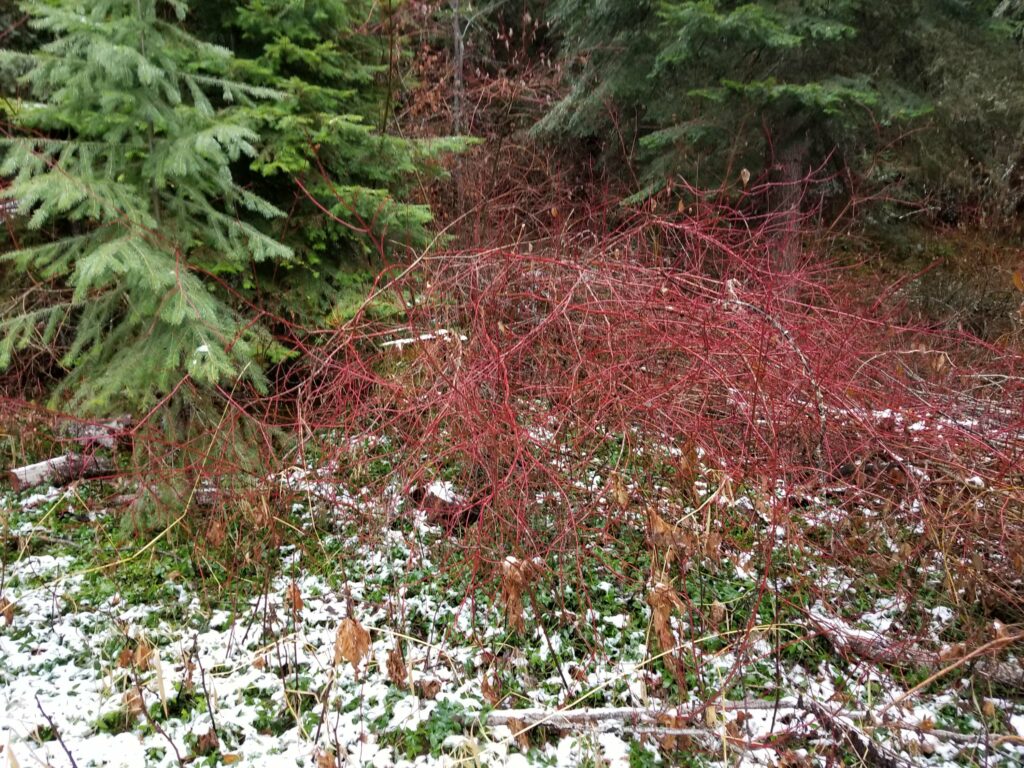
this needs thinning 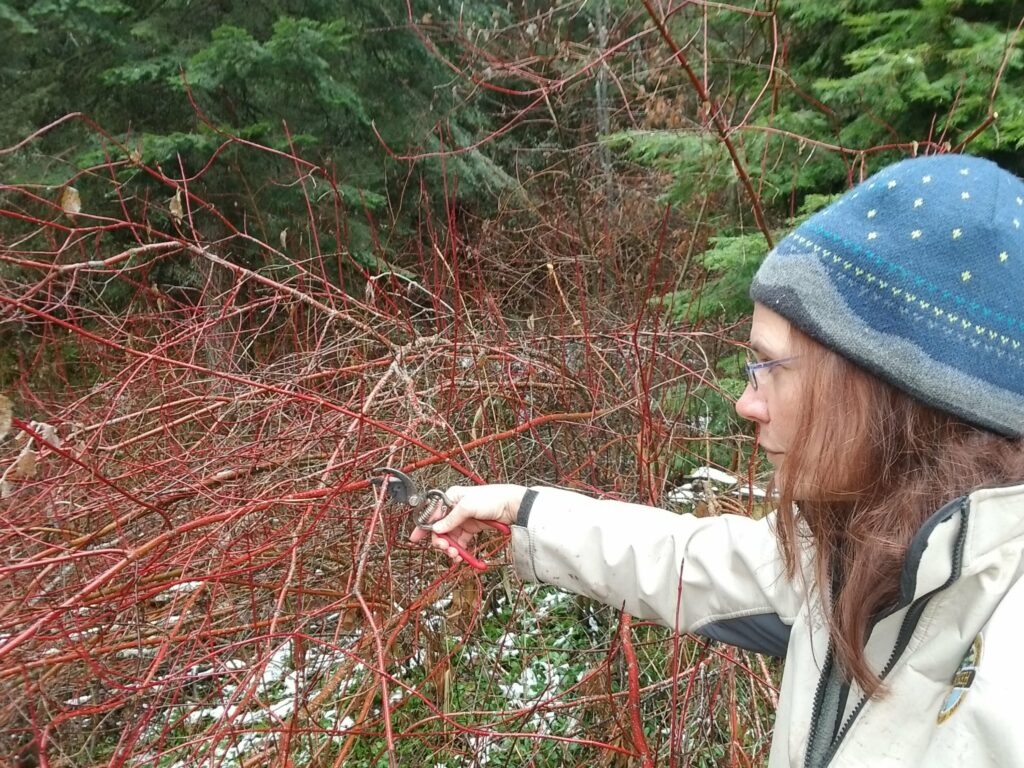
selfies and snippers do not mix 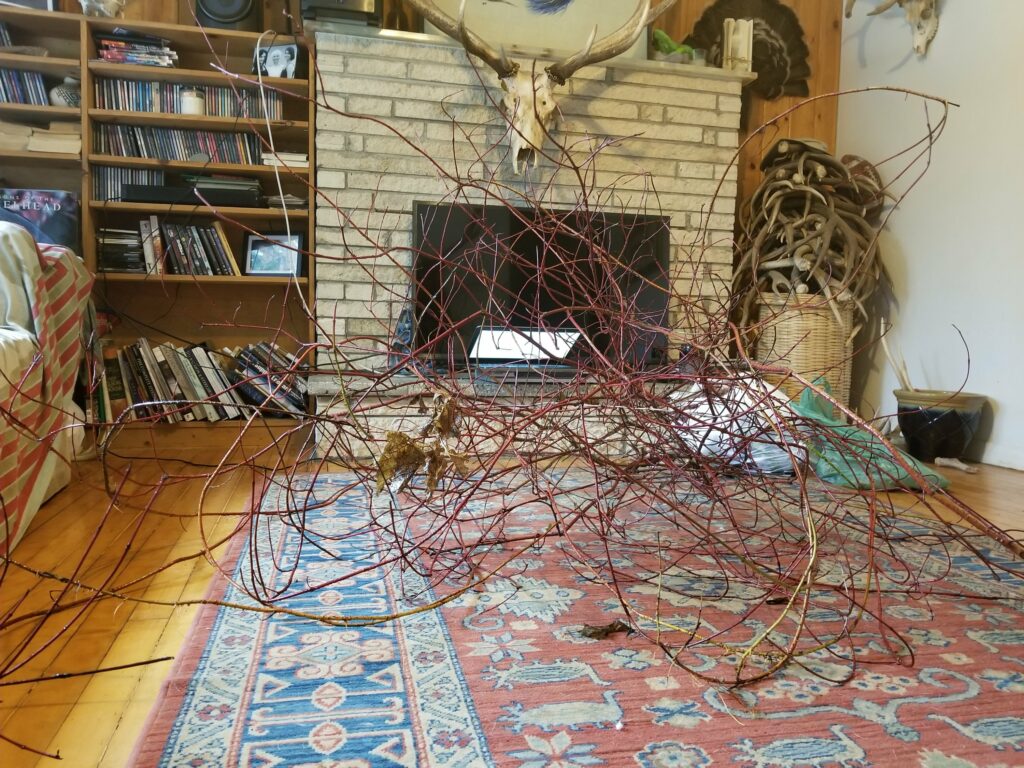
wow, that is a lot of branches
Clear a space large enough for your working pile and your wreath and begin by placing some of the branches in a circle approximately the desired finished size. After you have them in place, tie some fishing line (I think this stuff is the best) around the wreath leaving the long spool end attached and place a dab of hot glue on the knot. Now wind the fishing line around and around the wreath as you hold the branches in place. Finish by knotting and gluing again.
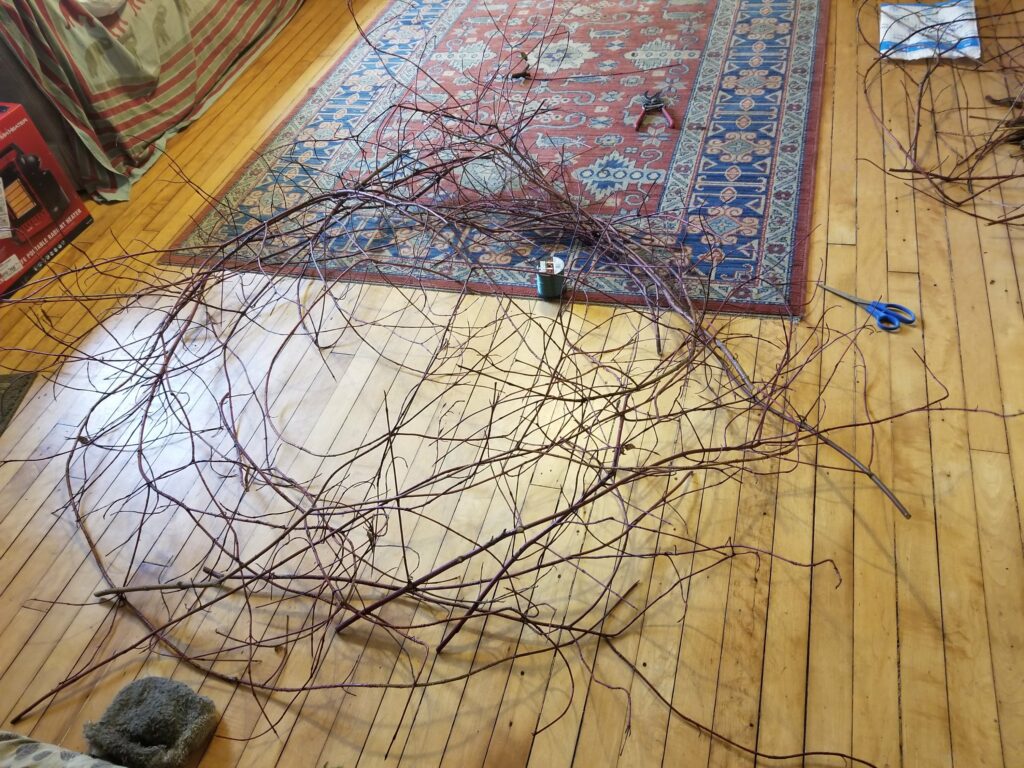
begin making a basic circle 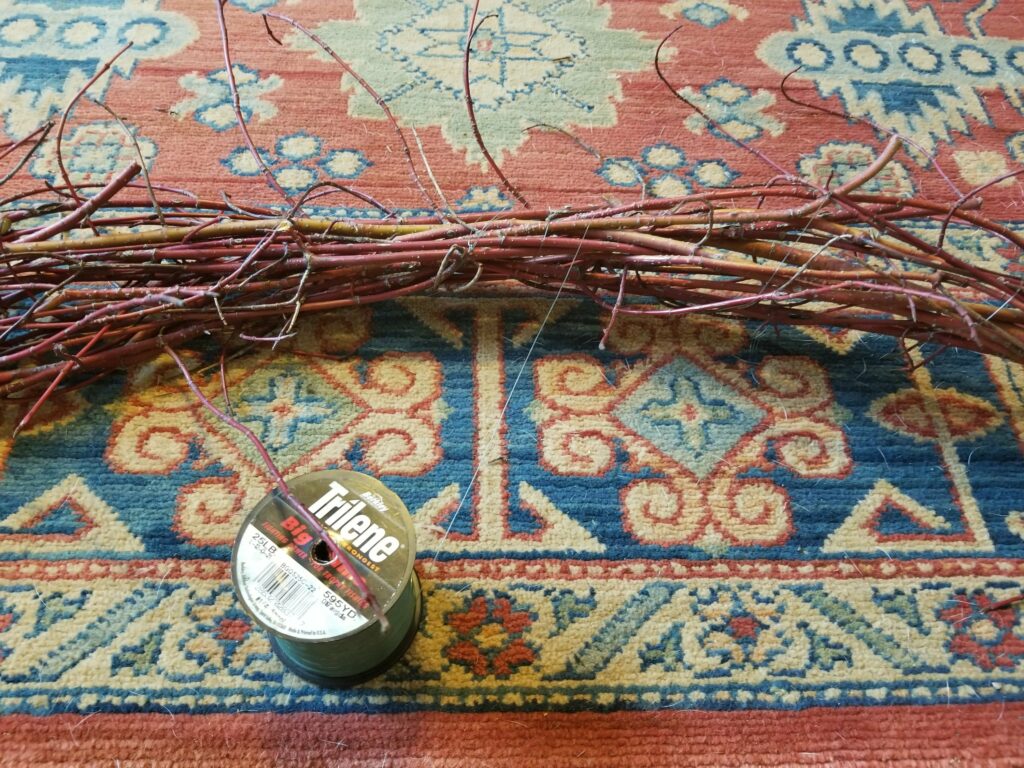
wrap with this fishing line 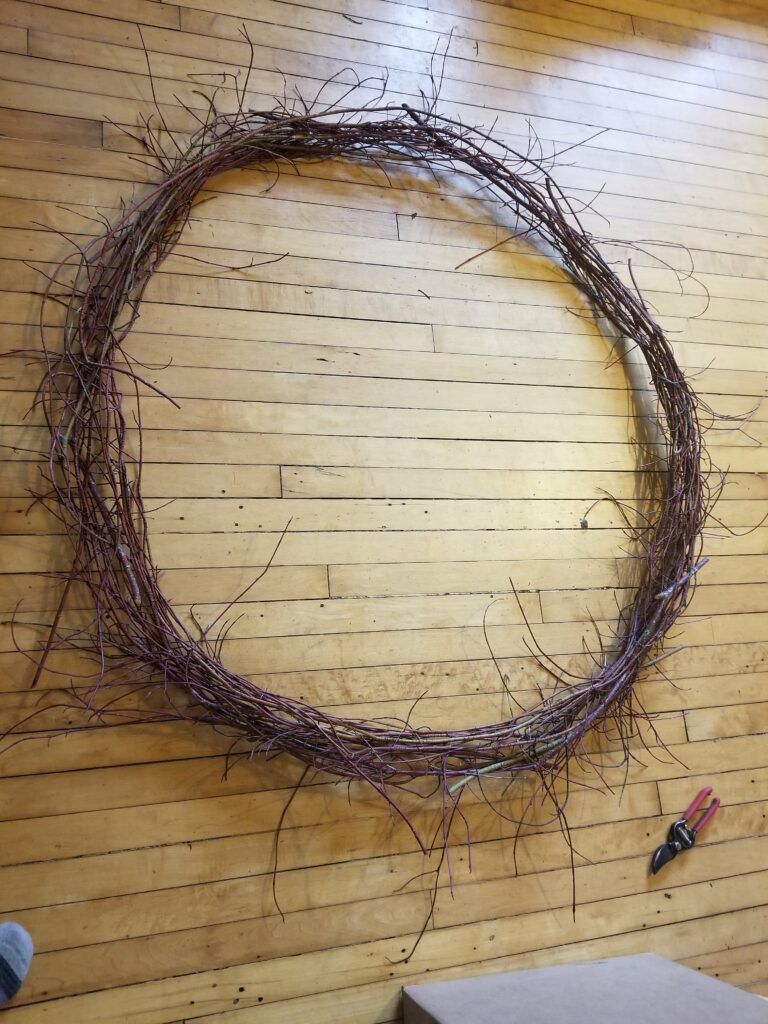
from chaos to order
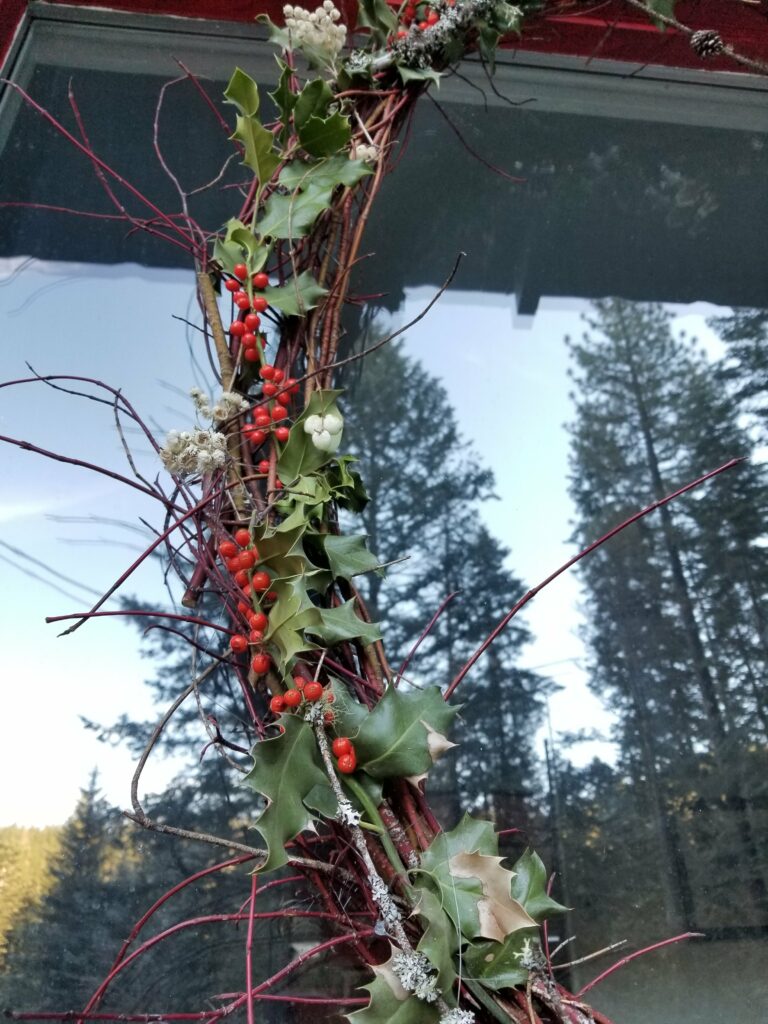
You may choose to leave the wreath bare for a clean and sharp look, sometimes less is more. But not in this case. I began layer holly and lichen branches around the wreath, tucking them into the fishing line that is already in place. I found some branches with tiny pine cones and added then to the wreath along with some dried white flowers. After I was satisfied with the layout and everything was tucked in to the original fishing line, make a second fishing line wrap in the opposite direction to lock the branches into place.
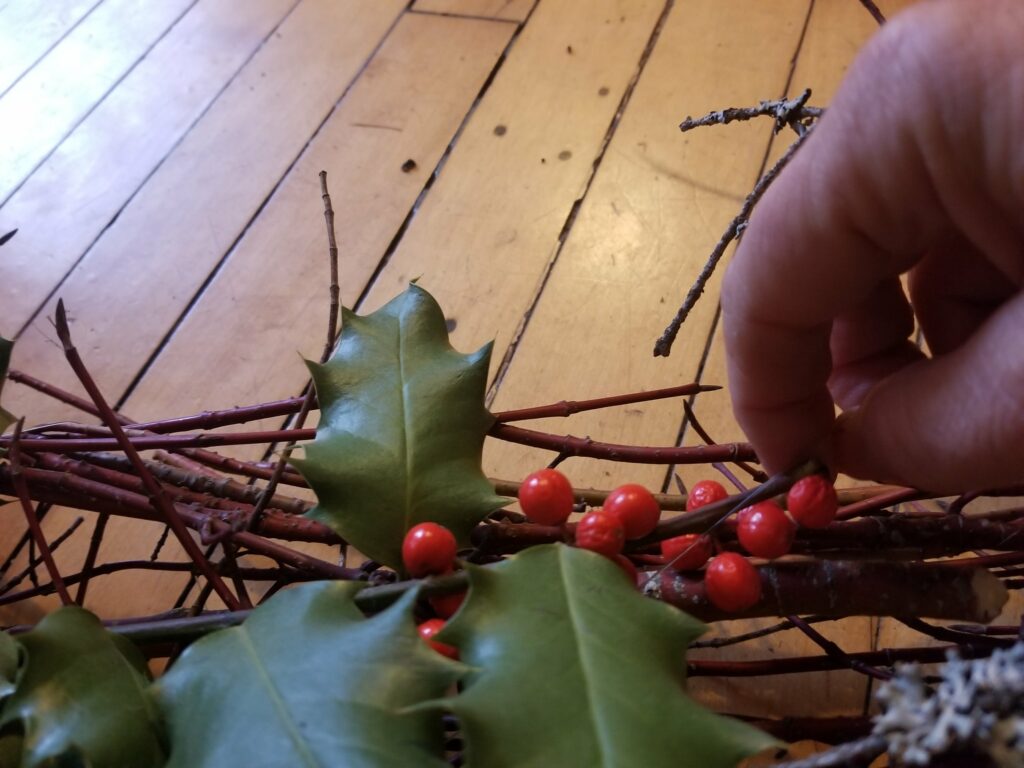
tuck decor into the wreath 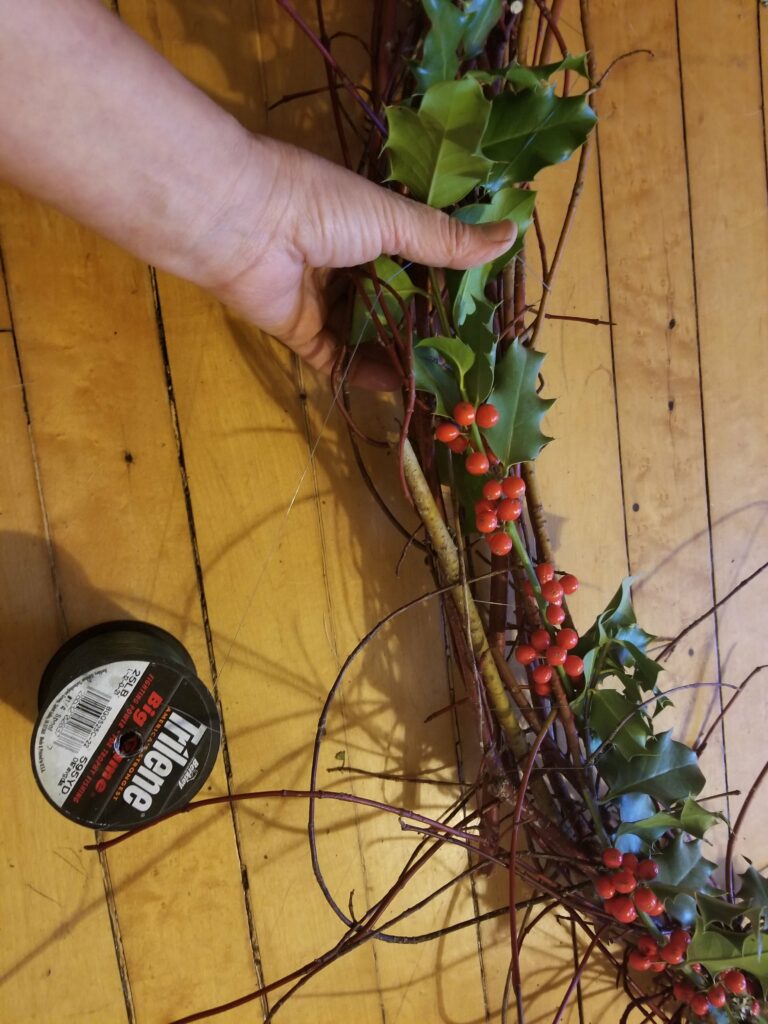
finish with a second wrap in opposite direction as first 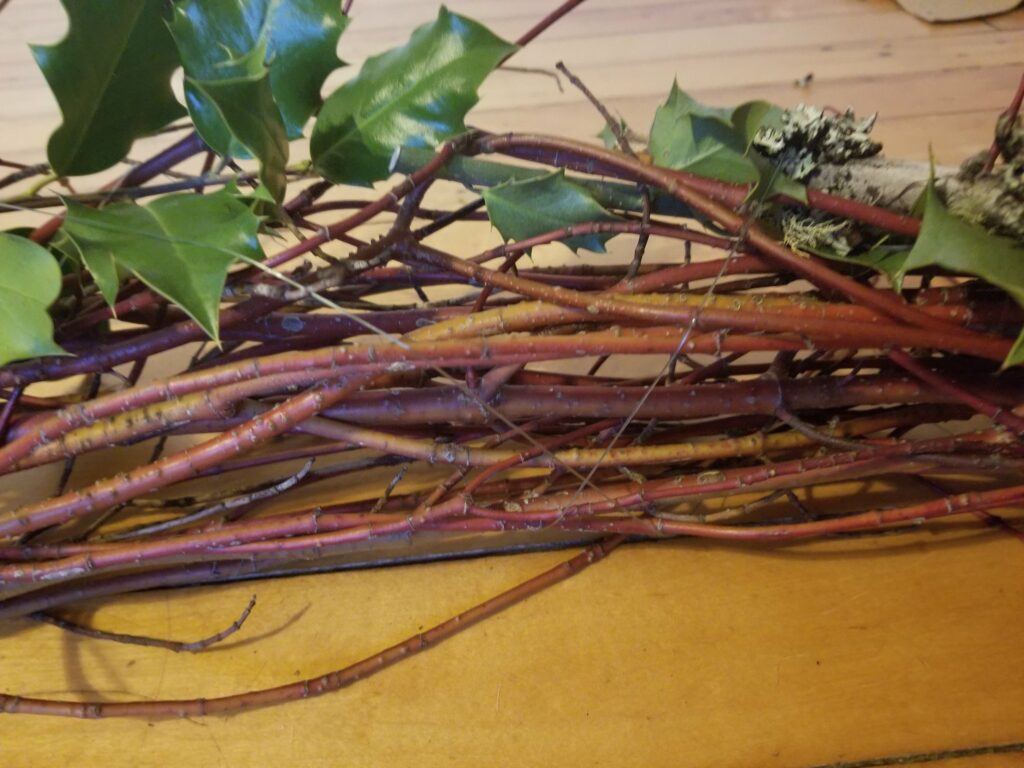
cross wrapping closeup 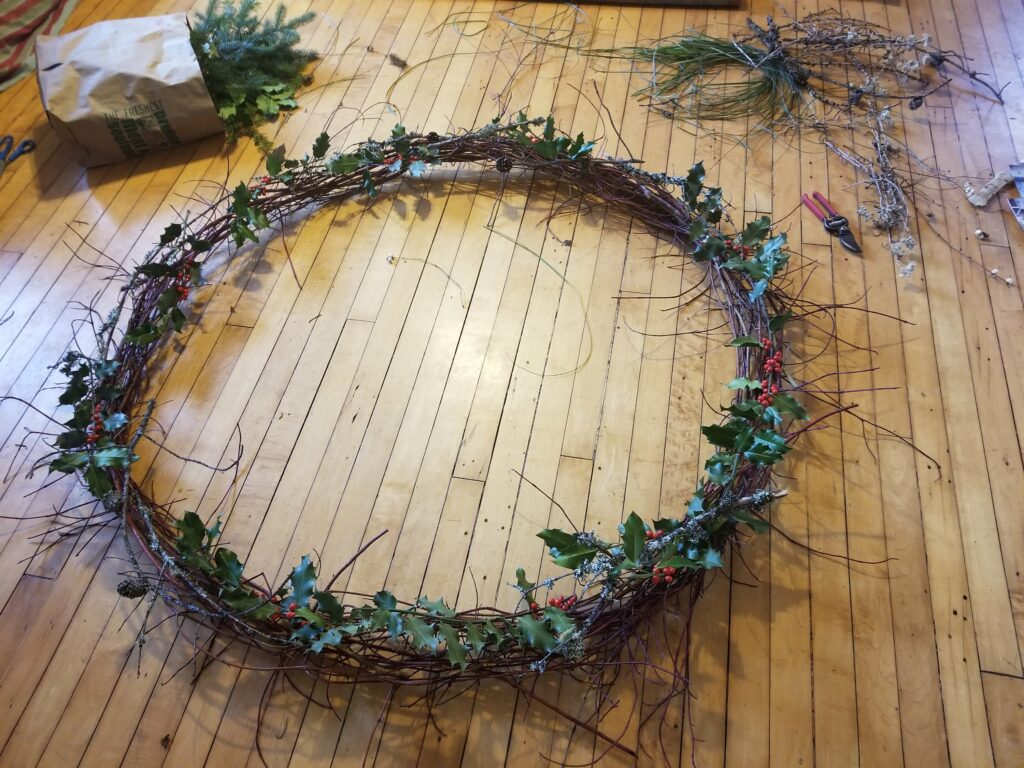
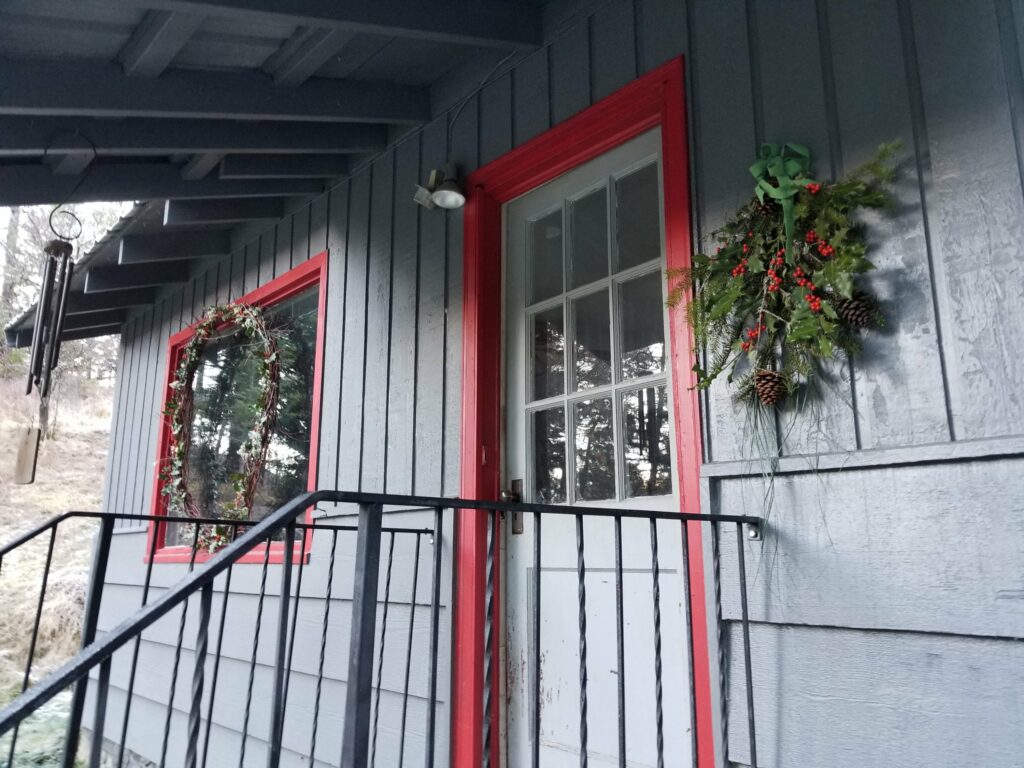
Voila! a celebration of natural beauty
Voila! A lovely holiday wreath to showcase the natural beauty of your area.
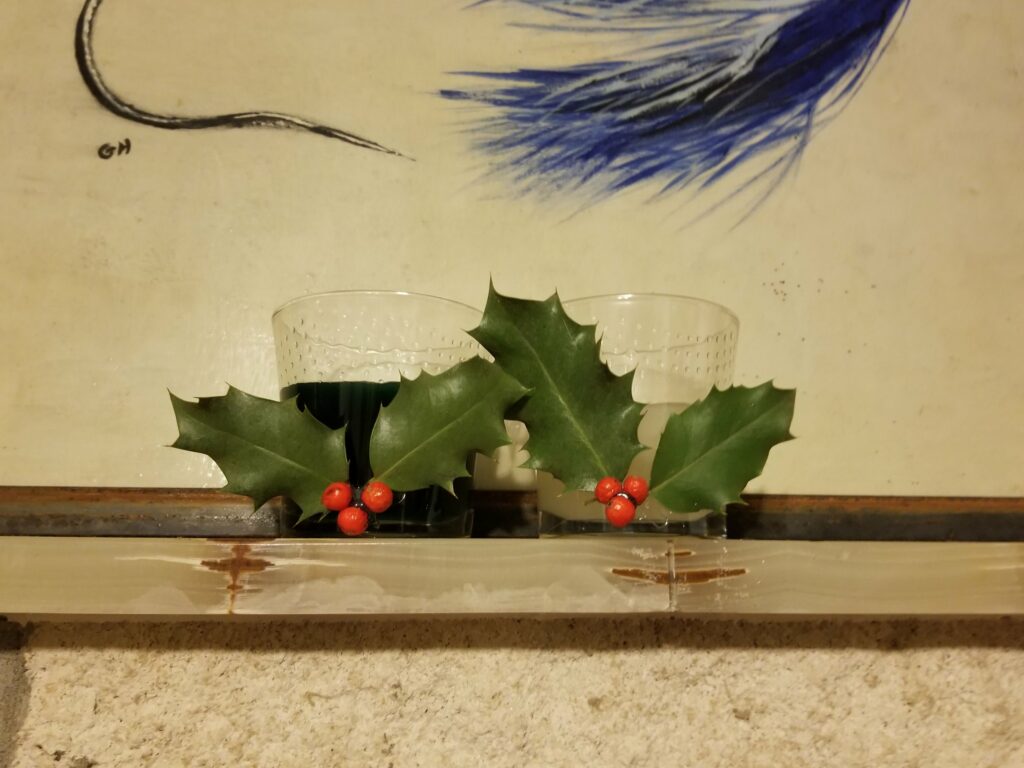
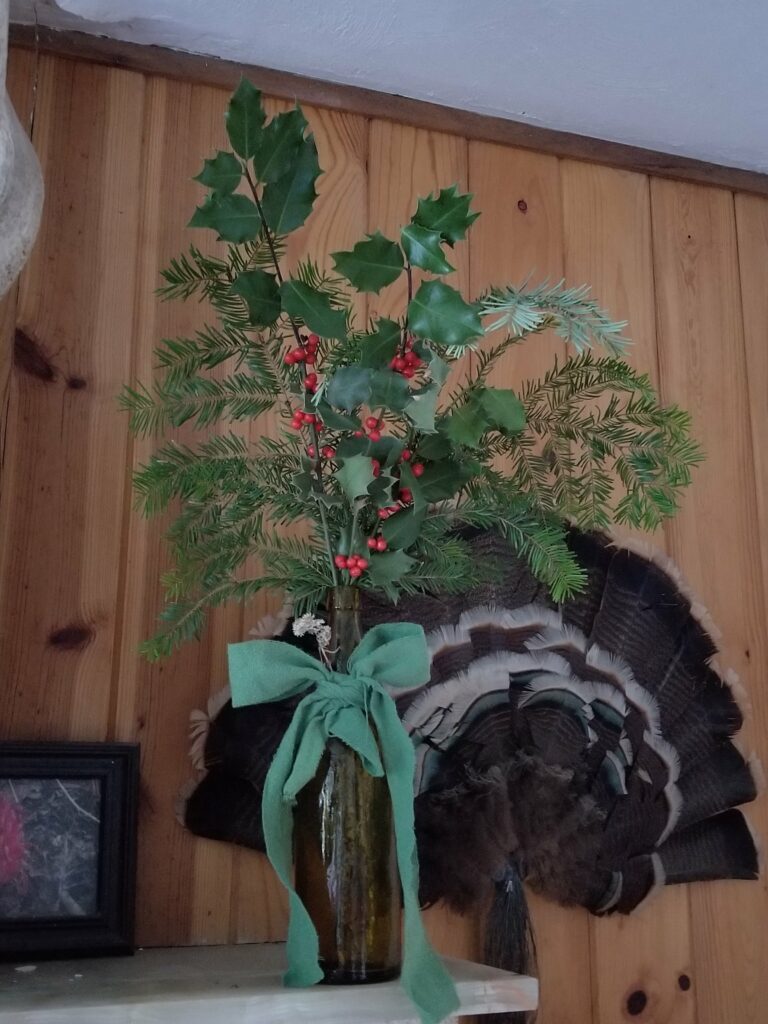
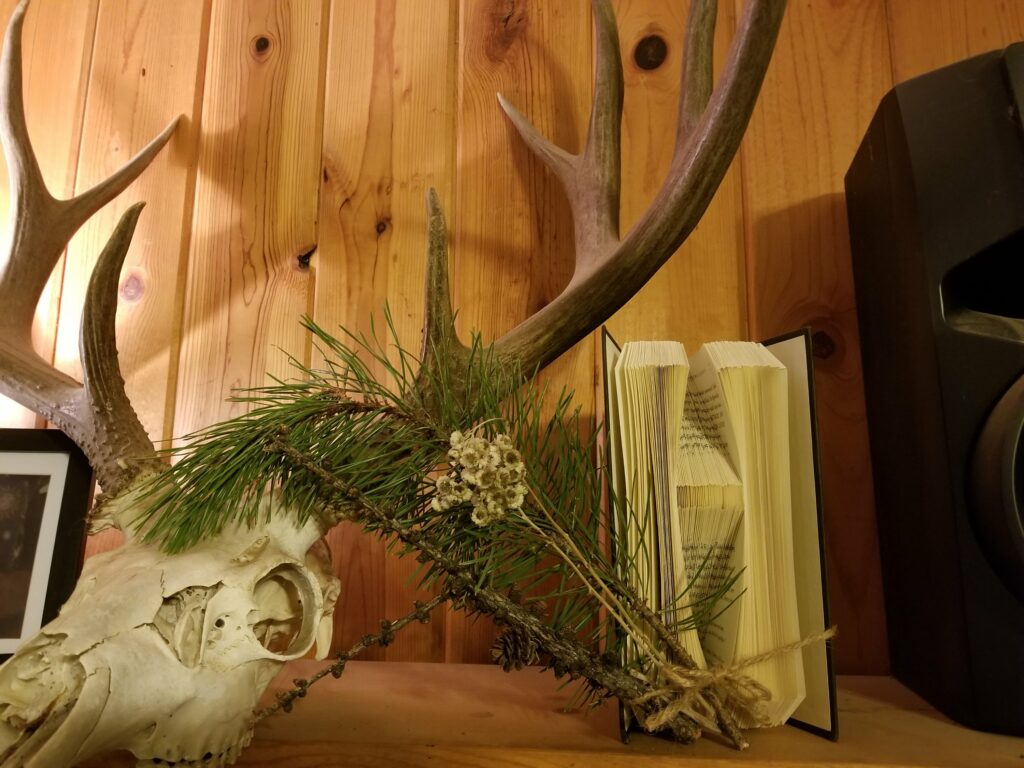
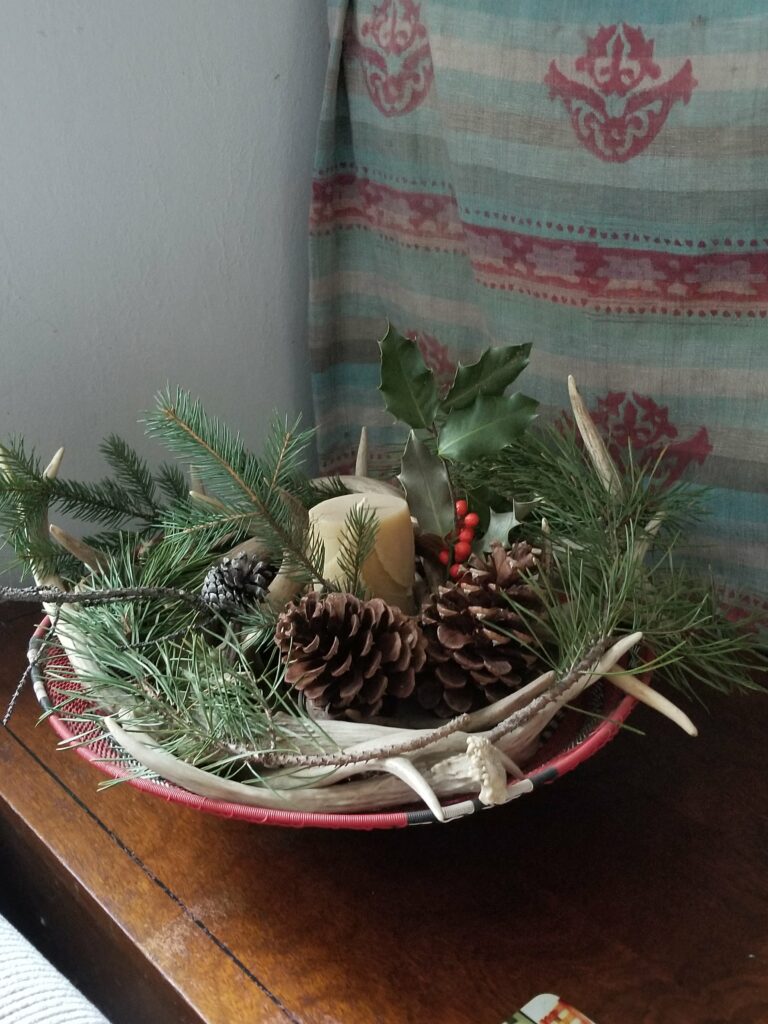
And, shoot, since that hot glue gun is out, why not make a few little touches inside with the left over bits? Hot glue some leaves and berries onto glass candle holders, stick some branches into a cool bottle or vase, and tuck branches here and there in your bookcase or mantle. Then step back and admire your handiwork as you sip a bit of eggnog*.
*What? You haven’t started your eggnog yet? Lordy, get a move on! You are running out of time to have the very best eggnog ready. Check out my dairy-free version here.
Here is a listing of the items recommended. You probably have all of this stuff already but just in case.


Disclaimer: yippikiyo.com is an Amazon Affiliate. If you click a link in this post you will be taken to Amazon. If you choose to make a purchase from one of my links I will make a small commission and it will not cost you anything extra.

What’s that you say?